No Search Results
Beamer is a powerful and flexible LaTeX class to create great looking presentations. This article outlines the basis steps to making a Beamer slideshow: creating the title page, adding a logo, highlighting important points, making a table of contents and adding effects to the slideshow.
- 1 Introduction
- 2.1 The title page
- 2.2 Creating a table of contents
- 2.3 Adding effects to a presentation
- 3 Highlighting important sentences/words
- 4.1.1 Berkeley theme
- 4.1.2 Copenhagen theme
- 4.1.3 Using a colortheme
- 4.2.1 Font sizes
- 4.2.2 Font types
- 4.3 Columns
- 5 Reference guide
- 6 Further reading

Introduction
A minimal working example of a simple beamer presentation is provided below.
Open this beamer document in Overleaf
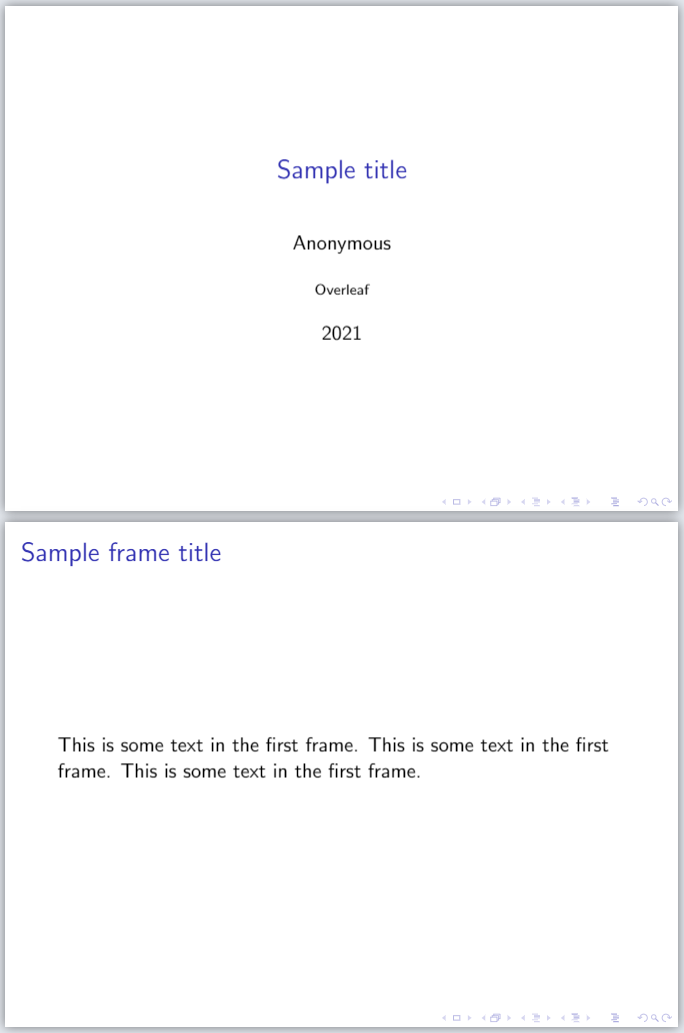
After compilation, a two-page PDF file will be produced. The first page is the titlepage, and the second one contains sample content.
The first statement in the document declares this is a Beamer slideshow: \documentclass{beamer}
The first command after the preamble, \frame{\titlepage} , generates the title page. This page may contain information about the author, institution, event, logo, and so on. See the title page section for a more complete example.
The frame environment creates the second slide, the self-descriptive command \frametitle{Sample frame title} is optional.
It is worth noting that in beamer the basic container is a frame . A frame is not exactly equivalent to a slide, one frame may contain more than one slides. For example, a frame with several bullet points can be set up to produce a new slide to reveal each consecutive bullet point.
Beamer main features
The Beamer class offers some useful features to bring your presentation to life and make it more attractive. The most important ones are listed below.
The title page
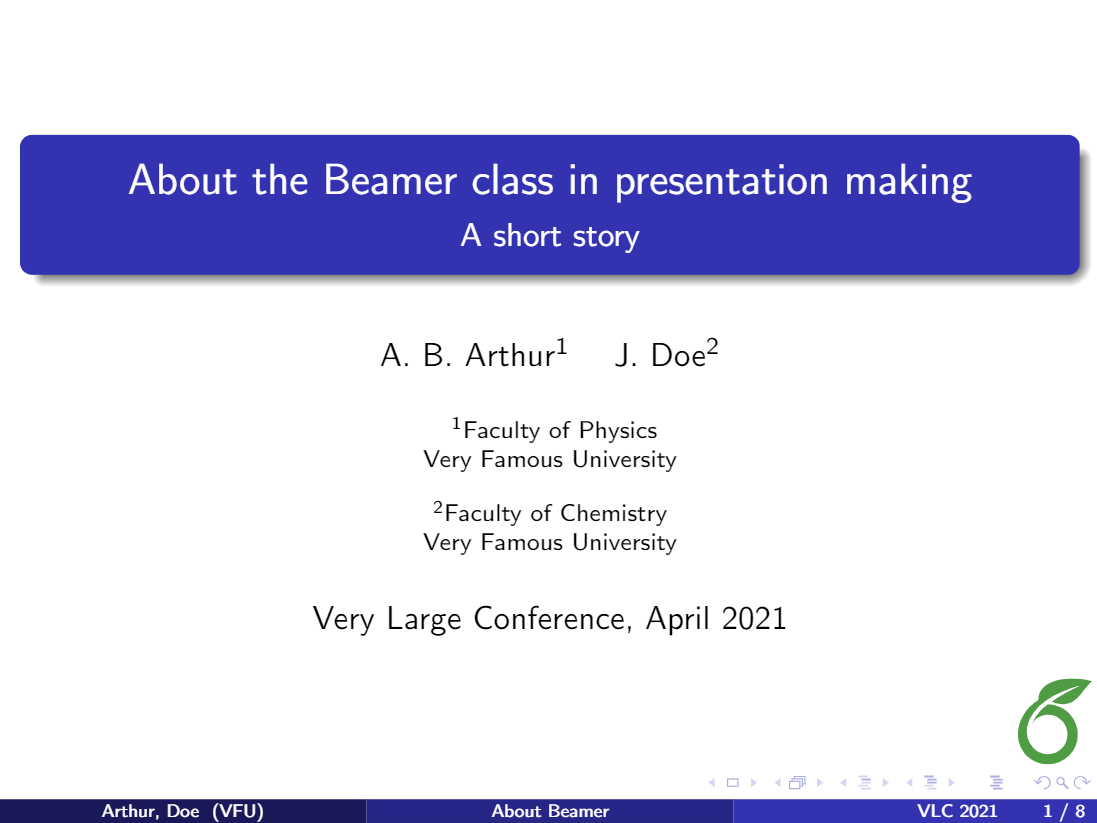
There are some more options for the title page than the ones presented in the introduction . The next example is a complete one, most of the commands are optional.
Open an example of the beamer package in Overleaf
The distribution of each element in the title page depends on the theme, see the Themes subsection for more information. Here is a description of each command:
Creating a table of contents
Usually when you have a long presentation, it's convenient to divide it into sections or even subsections. In this case, you can add a table of contents at the beginning of the document. Here is an example:
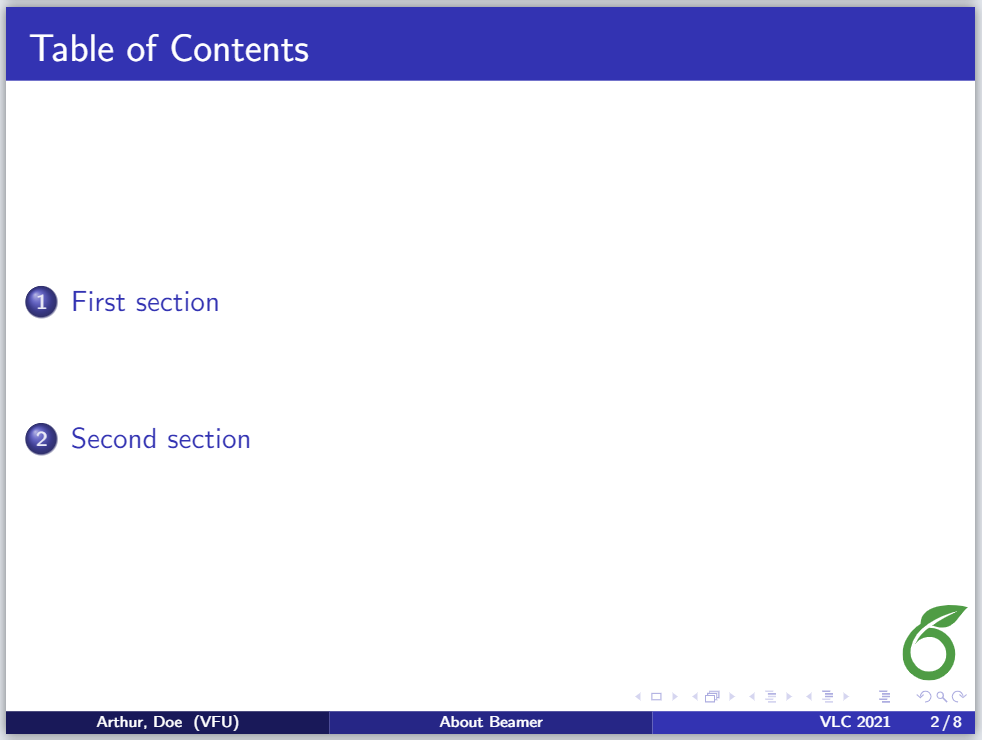
As you see, is simple. Inside the frame environment you set the title and add the command \titlepage .
It's also possible to put the table of contents at the beginning of each section and highlight the title of the current section. Just add the code below to the preamble of your L a T e X document:
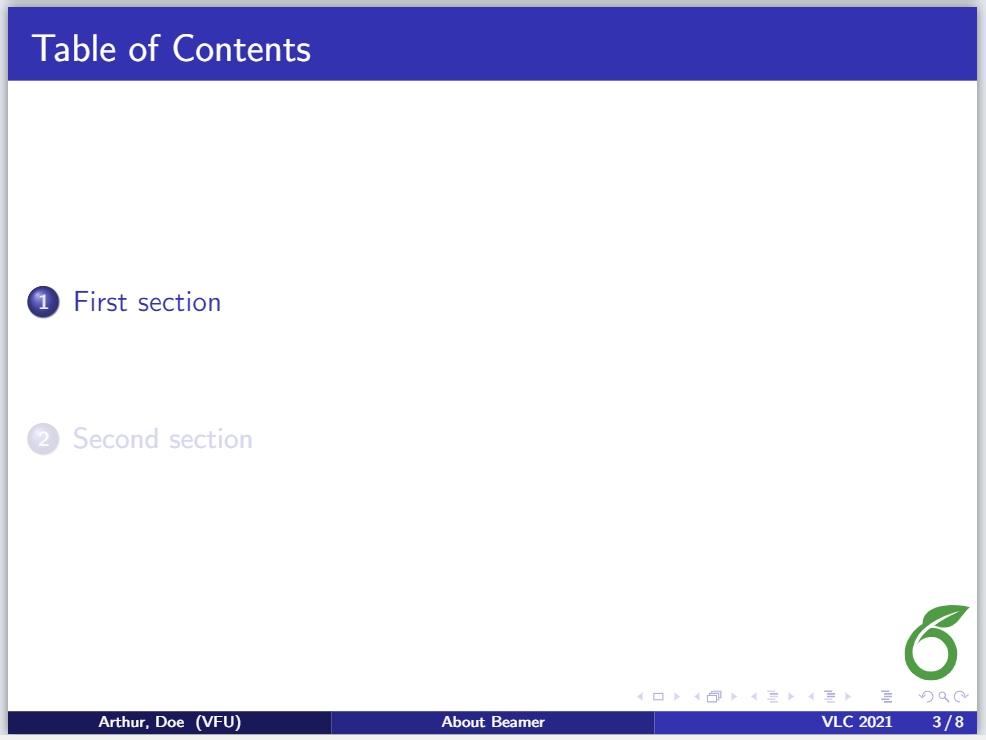
If you use \AtBeginSubsection[] instead of \AtBeginSection[] , the table of contents will appear at the beginning of each subsection.
Adding effects to a presentation
In the introduction , we saw a simple slide using the \begin{frame} \end{frame} delimiters. It was mentioned that a frame is not equivalent to a slide , and the next example will illustrate why, by adding some effects to the slideshow. In this example, the PDF file produced will contain 4 slides—this is intended to provide a visual effect in the presentation.
Open this frame in Overleaf (using \usetheme{Madrid} )
In the code there's a list, declared by the \begin{itemize} \end{itemize} commands, and next to each item is a number enclosed in two special characters: < > . This will determine in which slide the element will appear, if you append a - at the end of the number, the item will be shown in that and the subsequent slides of the current frame , otherwise it will appear only in that slide. Check the animation for a better understanding of this.
These effects can be applied to any type of text, not only to the itemize environment. There's a second command whose behaviour is similar, but it's simpler since you don't have to specify the slides where the text will be unveiled.
This code will generate three slides to add a visual effect to the presentation. \pause will prevent the text below this point and above the next \pause declaration to appear in the current slide.
Highlighting important sentences/words
In a presentation is a good practice to highlight the important points to make it easier for your audience to identify the main topic.
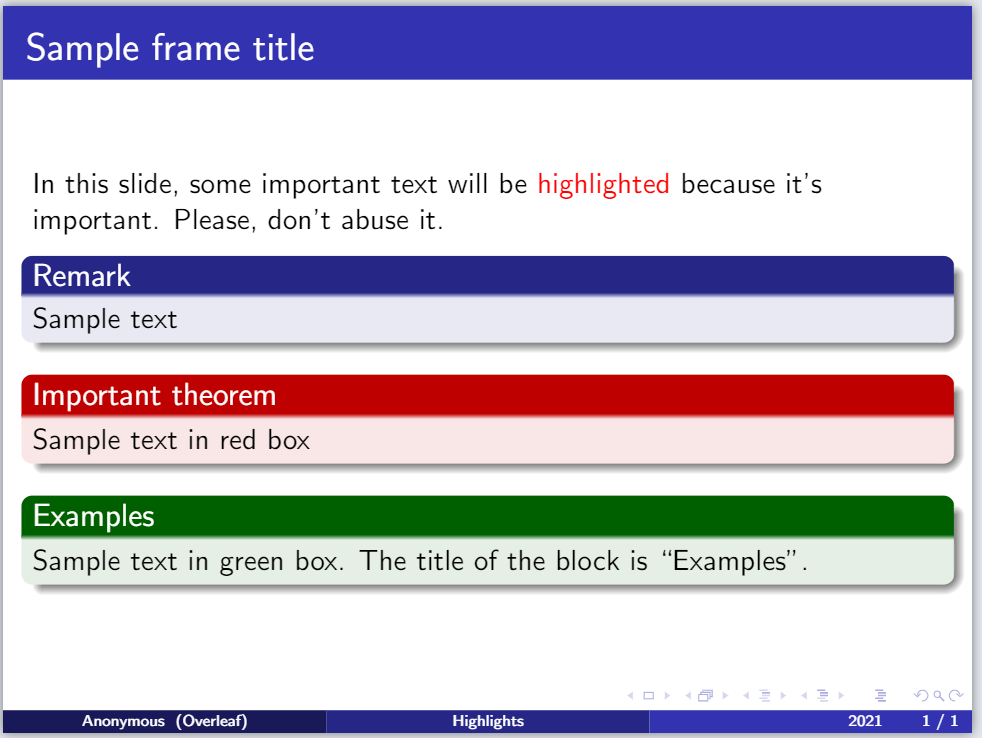
If you want to highlight a word or a phrase within a paragraph, the command \alert{} will change the style of the word inside the braces. The way the enclosed text will look depends on the theme you are using.
To highlight a paragraph with concepts, definitions, theorems or examples, the best option is to put it inside a box. There are three types of box, and it's up to you to decide which one better fits in your presentation:
Customizing your presentation
There are some aspects of a Beamer presentation that can be easily customized. For instance, you can set different themes, colours and change the default text layout into a two-column format.
Themes and colorthemes
It's really easy to use a different theme in your slideshow. For example, the Madrid theme (most of the slideshows in this article use this theme) is set by adding the following command to the preamble:
\usetheme{Madrid}
Below are two more examples.
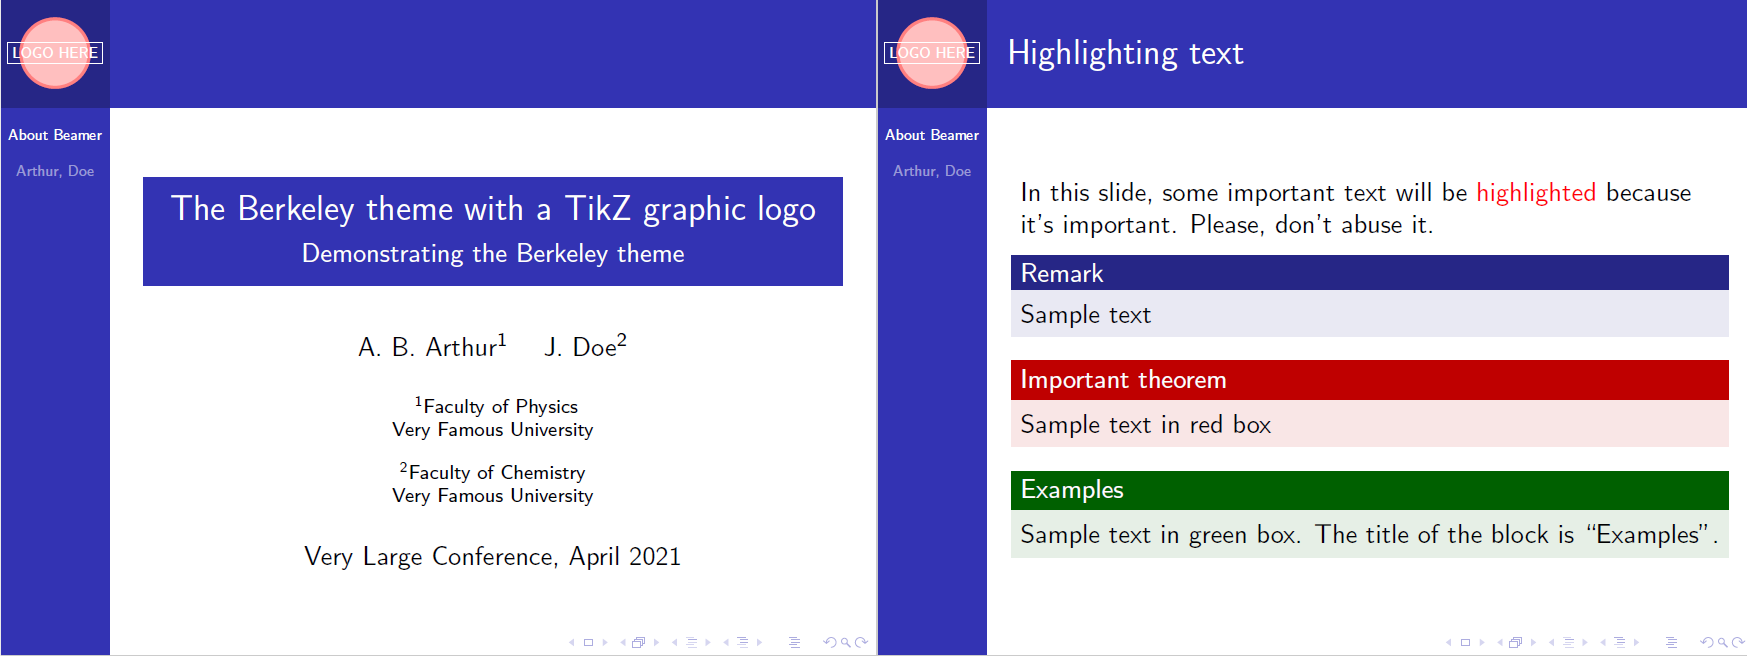
Berkeley theme
You can open this LaTeX code in Overleaf to explore the Berkeley theme.
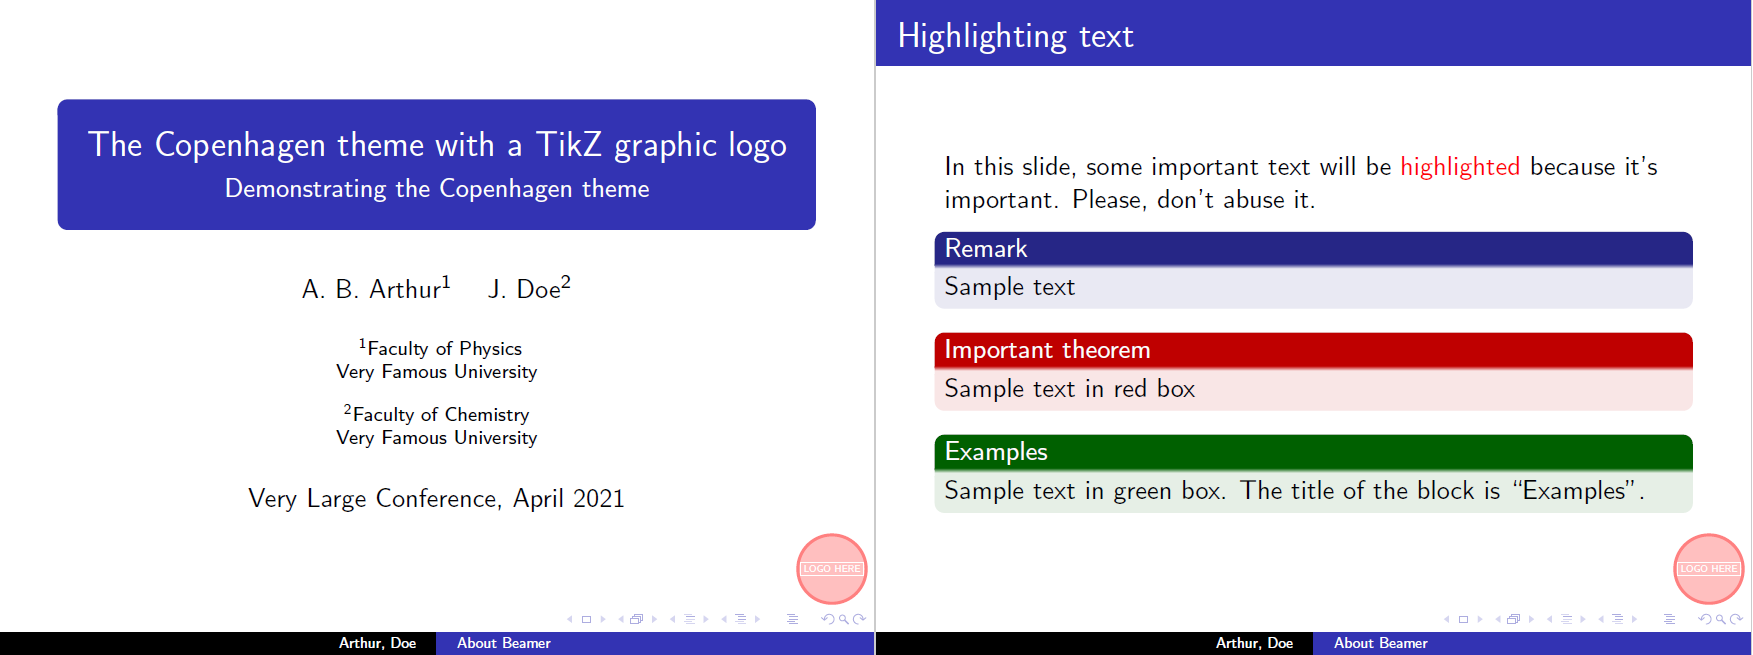
Copenhagen theme
You can open this LaTeX code in Overleaf to explore the Copenhagen theme.
Using a colortheme
A theme can be combined with a colortheme to change the colour used for different elements.
You must put the \usecolortheme statement below the \usetheme command. You can open this LaTeX code in Overleaf to explore the Madrid theme with the beaver colortheme. For various options, check out the table of screenshots of different themes and colorthemes in the Reference guide below.
You can change several parameters about the fonts. Here we will mention how to resize them and change the type of font used.
The font size, here 17pt , can be passed as a parameter to the beamer class at the beginning of the document preamble: \documentclass[17pt]{beamer} . Below is an example showing the result of using the 17pt font-size option:
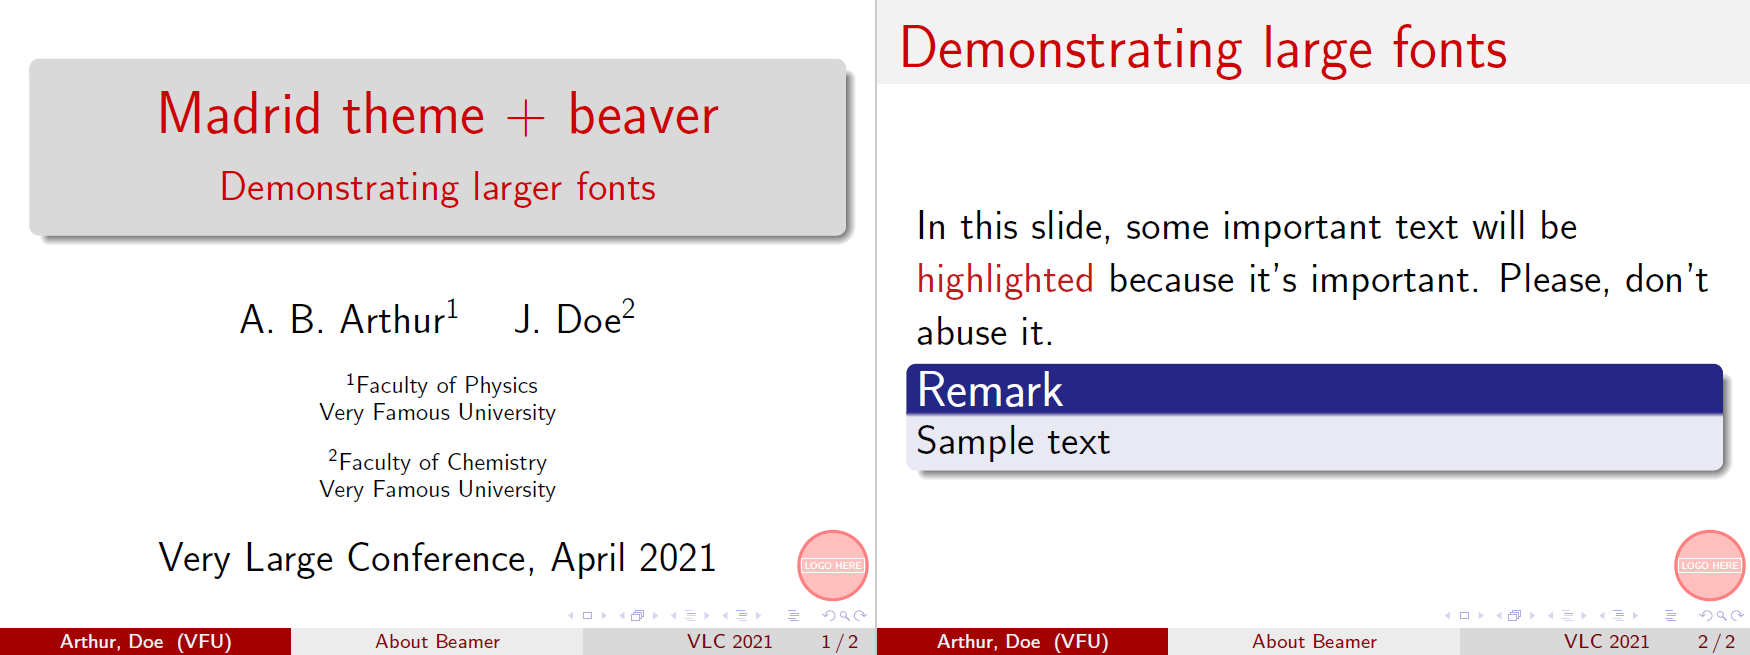
Available font sizes are 8pt, 9pt, 10pt, 11pt, 12pt, 14pt, 17pt, 20pt. Default font size is 11pt (which corresponds to 22pt at the full screen mode).
To change the font types in your beamer presentation there are two ways, either you use a font theme or import directly a font from your system. Let's begin with a font theme:
Open a beamer document using these settings in Overleaf
The \usefonttheme{} is self-descriptive. The available themes are: structurebold, structurebolditalic, structuresmallcapsserif, structureitalicsserif, serif and default.
You can also import font families installed in your system.
The command \usepackage{bookman} imports the bookman family font to be used in the presentation. The available fonts depend on your L a T e X installation, the most common are: mathptmx, helvet, avat, bookman, chancery, charter, culer, mathtime, mathptm, newcent, palatino, and pifont.
Sometimes the information in a presentation looks better in a two-column format. In such cases use the columns environment:
After the frame and frametitle declarations start a new columns environment delimited by the \begin{columns} \end{columns} . You can declare each column's width with the \column{0.5\textwidth} code, a lower number will shrink the width size.
Reference guide
Below is a table with screenshots of the title page and a normal slide in Beamer using different combinations of themes (rows) and colorthemes (columns). To have a complete list of themes and colorthemes see the further reading section for references.
Further reading
For more information, see the full package documentation here . The following resources may also be useful:
- Bold, italics and underlining
- Font sizes, families, and styles
- Text alignment
- Font typefaces
- Inserting Images
- Using colours in LaTeX
- Lengths in LaTeX
- International language support
- TikZ package
- Beamer User's Guide - The beamer class
- Documentation Home
- Learn LaTeX in 30 minutes
Overleaf guides
- Creating a document in Overleaf
- Uploading a project
- Copying a project
- Creating a project from a template
- Using the Overleaf project menu
- Including images in Overleaf
- Exporting your work from Overleaf
- Working offline in Overleaf
- Using Track Changes in Overleaf
- Using bibliographies in Overleaf
- Sharing your work with others
- Using the History feature
- Debugging Compilation timeout errors
- How-to guides
- Guide to Overleaf’s premium features
LaTeX Basics
- Creating your first LaTeX document
- Choosing a LaTeX Compiler
- Paragraphs and new lines
Mathematics
- Mathematical expressions
- Subscripts and superscripts
- Brackets and Parentheses
- Fractions and Binomials
- Aligning equations
- Spacing in math mode
- Integrals, sums and limits
- Display style in math mode
- List of Greek letters and math symbols
- Mathematical fonts
- Using the Symbol Palette in Overleaf
Figures and tables
- Positioning Images and Tables
- Lists of Tables and Figures
- Drawing Diagrams Directly in LaTeX
References and Citations
- Bibliography management with bibtex
- Bibliography management with natbib
- Bibliography management with biblatex
- Bibtex bibliography styles
- Natbib bibliography styles
- Natbib citation styles
- Biblatex bibliography styles
- Biblatex citation styles
- Multilingual typesetting on Overleaf using polyglossia and fontspec
- Multilingual typesetting on Overleaf using babel and fontspec
- Quotations and quotation marks
Document structure
- Sections and chapters
- Table of contents
- Cross referencing sections, equations and floats
- Nomenclatures
- Management in a large project
- Multi-file LaTeX projects
- Lengths in L a T e X
- Headers and footers
- Page numbering
- Paragraph formatting
- Line breaks and blank spaces
- Page size and margins
- Single sided and double sided documents
- Multiple columns
- Code listing
- Code Highlighting with minted
- Margin notes
- Supporting modern fonts with X Ǝ L a T e X
Presentations
- Environments
Field specific
- Theorems and proofs
- Chemistry formulae
- Feynman diagrams
- Molecular orbital diagrams
- Chess notation
- Knitting patterns
- CircuiTikz package
- Pgfplots package
- Typesetting exams in LaTeX
- Attribute Value Matrices
Class files
- Understanding packages and class files
- List of packages and class files
- Writing your own package
- Writing your own class

Advanced TeX/LaTeX
- In-depth technical articles on TeX/LaTeX
Get in touch
Have you checked our knowledge base ?
Message sent! Our team will review it and reply by email.
Email:

LaTeX Beamer introduction / Quick-start guide
Create structured presentations in LaTeX containing a title page, table of contents, lists, figures, tables, blocks, and much more!
- 1. Minimal code
- 2. Title page
- 4. Table of contents (Outline)
- 5. Unordered and ordered lists
6. Tables and Figures
- 7. Multicolumn frame
- 9. Hyperlinks and buttons
1. Minimal code of a LaTeX presentation
The minimal code of a LaTeX presentation includes: 1) loading the beamer class package, 2) choosing a default presentation theme and a frame.
Here is an example:
- Like every LaTeX document, we should specify document class which corresponds to ’beamer’.
- The Beamer class comes with several slide themes which can be used to change the color and layout of the slides. We will use the default theme throughout this guide. I will do a lesson on themes later in the detailed tutorial , but the theme is not our concern at the moment.
- To create a slide, we use the frame environment and put details inside it. In this example, it is just a one line of text!
Compiling this code yields to a basic slide:

Let’s try now to create a simple title page.
2. Creating a simple title page
To create a title page, the first thing to do is to add the title and subtitle of the presentation , the name of the author , the institute and the date . After that, we create a frame environment and we use \titlepage to print the provided details.
Here is a simple example:
Compiling this code yields:

3. Add a logo in Beamer
Adding a logo to beamer presentations can be done easily using the \logo{Text} command. Between braces, we can add text or an image using \includegraphics[options]{ImageName} command .
Here is an illustrative example:

For more details about adding and positioning a logo in Beamer, check this lesson !
4. Presentation Outline
– table of contents command.
The \ tableofcontents command creates the table of contents as it did in LaTeX. The table automatically gets updated with the addition or removal of sections and subsections. We have to create a frame environment and we add the command in question .
– Hide subsections
This command will display all sections and subsection(if any) in the table of contents . To display only sections titles’ we add the option [hideallsubsections] in squared brackets to the \tableofcontents command as follows:
– Recurring table of contents
It is also possible to create a recurring table of contents before every section. This highlights the current section and fades out the rest. This feature is used to remind the audience of where we are in the presentation. This can be done with the help of \AtBeginSection command and specifying [currentsection] in the \tableofcontents command. Please go through the example below for better understanding:
5. Lists in beamer
Let’s discuss these environments in detail:
– Itemize environment
Itemize is used to create unordered lists . Under this environment, the obtained list will have bullet points . Check the following code:
which yields the following:

There are various templates in beamer to change this itemized list appearance. The command \setbeamertemplate is used on itemize items to change the shape of item markers.
- \setbeamertemplate{itemize items}[default] : the default item marker is a triangle.
- \setbeamertemplate{itemize items}[circle] : sets the item marker to a small filled circle.
- \setbeamertemplate{itemize items}[square] : sets the item marker to a small filled square.
- \setbeamertemplate{itemize items}[circle] : sets the item marker to a ball shape.

– Enumerate environment
This environment is used to create an ordered list . By default, before each item increasing Arabic numbers followed by a dot are printed (eg. “ 1. ” and “ 2. ”).

Similar to itemize items, we can change the enumerate style by placing numbers inside different shapes using \setbeamertemplate and instead of itemize items we use enumerate items :
- \setbeamertemplate{enumerate items}[circle] : place the number inside a small filled circle.
- \setbeamertemplate{enumerate items}[square] : place the number inside a small filled square.
- \setbeamertemplate{enumerate items}[circle] : place the number inside a ball shape.
The list looks like the following:

– Description environment
The description environment is used to define terms or to explain acronyms. We provide terms as an argument to the \item command using squared bracket.
Compiling this piece of code yields:

Tables and figures are created pretty much the same way as it is in LaTeX. Check the following code:
Compiling this code with the minimal code of a LaTeX presentation presented above yields:

Figures can be included in a beamer presentation using the figure environment. The image can be simply inserted using the \includegraphics command, since beamer already includes the graphicx package in it. The size and the label of the image can be set using the scale option and \caption command respectively.
7. Creating columns in beamer
Columns can be created in beamer using the environment named columns . Inside this environment, you can either place several column environments , each of which creates a new column, or use the \column command to create new columns.
Under the columns environment, the column environment is to be entered along with column width to text width ratio specified in curly brackets. This ratio is generally taken as 0.5. However, it can be customized as per the requirements, check this example:

8. Blocks in beamer
Information can be displayed in the form of blocks using block environment. These blocks can be of three types :
- alert block.
- example block.
- and theorem block.
– Standard block
The standard block is used for general text in presentations. It has a blue color and can be created as follows:

– Alert block
The purpose of the alert block is to stand out and draw attention towards the content. This block is used to display warning or prohibitions. The default color of this block is red . To display an alert block the code can be written as:
– Example block
This block is used to highlight examples as the name suggests and it can also be used to highlight definitions. The default color of this block is green and it can be created as follows:
– Theorem Block
The theorem block is used to display mathematical equations , theorems , corollary and proofs . The color of this block is blue . Here is an example:

9. Hyperlinks and Buttons
To create jumps from one slide to another slide in our talk, we can add hyperlinks to our presentation . When the hyperlink is clicked it jumps the presentation to the target slide. This can be achieved in beamer by following these steps:
- Tag the frame that we want to link to by adding \label{targetFrame} or \hypertarget commands.
- Create a hyperlink text using the command: \hyperlink{targetFrame}{click here}
- If you would like to create a button style , put “click here” inside the command \hyperlink{contents}{\beamerbutton{click here}}

We reached the end of this quick guide to LaTeX presentations. If you would like to go into details, check the beamer free course !
